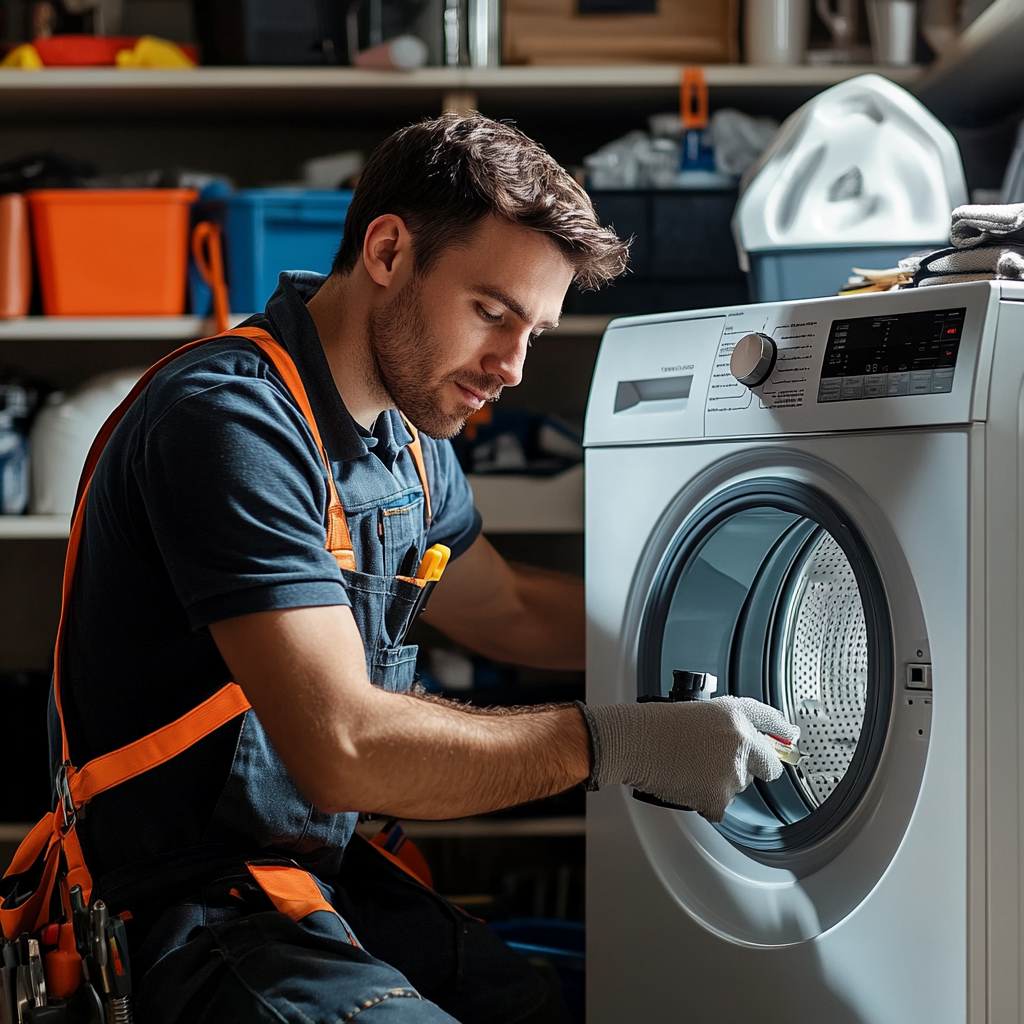
Is the washer not filling with water? Our guide gives you 9 troubleshooting tips to diagnose and fix the issue quickly. Is your washing machine not filling with water? This frustrating issue prevents you from being able to run a wash cycle and clean your clothes. But don’t worry – in most cases, it can be an easy fix. This comprehensive guide will walk you through advanced troubleshooting tips to diagnose why your washer won’t fill and how to get it working again.
When a washer fails to fill properly, quickly diagnosing the cause is key to getting it functioning again
| Issue | Possible Causes | Quick Fixes |
| Washer not filling | Closed supply valves, Kinked hoses, Low water pressure | Open valves fully, Straighten hoses, Check the pressure |
| No water flow | Clogged inlet screens, Faulty inlet valves | Clean screens, Replace valves |
| Electrical problems | Malfunctioning lid lock, Defective pressure switch | Reset washer, Test/replace components |
Introduction: Washing Machine Not Filling?
When a washer fails to fill with water, it could be caused by a variety of issues, from closed supply valves to clogged inlet hoses to faulty water inlet valves. The key is to systematically test different components and parts to isolate the root of the problem.
This expanded troubleshooting guide will cover the 9 most common reasons a washer won’t fill and step-by-step instructions for testing and confirming the failure and performing the repair. Detailed explanations of washer-fill system components, diagnostic modes, and service procedures will help you tackle this problem.
What Does It Mean When a Washer Won’t Fill?
When a top load or front load washer does not fill with water, the cycle time will become delayed as the machine waits for water intake. You may notice the drum does not spin and makes no spraying or agitating sounds. The washer will just sit idle until the allotted fill time passes, then often flash an error code, end the cycle prematurely, or display a message like “not filling” or “no water”.
Some key signs your washing machine is not filling with water include:
- The washer drum stays still and no water spraying or agitating sounds occur
- Cycle time is delayed much longer than normal
- Error codes related to water fill issues
- “No water” or “not filling” message displays
You can dive into advanced troubleshooting once you confirm the washer is not filling properly.
Advanced Troubleshooting Tips
Below are detailed explanations of the 9 most common reasons a washer won’t fill plus in-depth troubleshooting and repair information.
1. Check That Water Supply Valves Are Fully Open
The first thing to check when a washer fails to fill is whether the hot and cold water supply valves feeding water to the washer are turned on fully. Over time, these valves can get bumped or nudged into a partially closed position.
Fully open both the hot and cold water supply valves
To check the water supply valves:
- Locate the hot and cold water supply lines connecting to the back of the washer. Follow them back to the water source pipe connections.
- Check that both knob valves are open by turning them counterclockwise.
- Open and close the valves several times to clear out any potential blockages.
Once you’ve confirmed both valves are fully open, try starting a wash cycle again to see if water now flows into the machine.
Why Water Supply Valves Get Closed
There are a few reasons why the water supply valves can end up in closed or partially closed positions unexpectedly:
- Valves are bumped or nudged: The supply valves are positioned under the washing machine with exposed knobs. It’s easy to accidentally bump the valves closed with your foot or a laundry basket.
- Valve knobs loosen over time: If the set screws on the valve handle work loose, the knob can slightly rotate towards closed.
- Mineral deposits: Hard water deposits inside the valve can impede smooth operation over time. Opening and closing help break up deposits.
- Infrequent washer use: If you go on vacation or the washer sits idle for a while, random vibrations can cause valves to inch closed. Always double-check valves before use after long inactive periods.
Checking that both hot and cold water supply valves are fully open is one of the easiest troubleshooting steps when a washer fails to fill with water.
2. Inspect Inlet Hoses for Kinks, Cracks, and Blockages
If the washer still won’t fill after ensuring the supply valves are open, inspect the water inlet hoses connected to the back of the machine. Damaged or kinked hoses and clogged inlet screens can restrict water flow.
Check for cracks, bulges, or severe kinks in inlet hoses
Follow these steps to inspect inlet hoses:
- Check for leaks: With the washer unplugged, turn on the supply valves and check connections for drips or leaks. Tighten fittings if seeping occurs. Run a brief test cycle while observing fill connections for any drips.
- Inspect hoses: Examine the inlet hose lengths for bulging, cracking, severe kinks, and corrosion. Check where hoses connect to tap ends and the washer inlet valve ports. Any comprised areas indicate worn-out hoses needing replacement.
- Clear inlet screens: The mesh screens attached to the inlet valve ports filter out debris but can get clogged over time. Disconnect and rinse any debris or sediment buildup under the tap. For stubborn clogs, use a toothbrush, pipe cleaner, or tweezers to clear out gunk and limescale.
Replace any damaged hoses, tighten connections, and clear inlet screens before testing with a new fill cycle. Keep reading for more advanced troubleshooting tips.
Inlet Hose Failure Modes
Washing machine inlet hoses experience a lot of twisting and pulling during the machine’s life. Here are 3 common failure modes:
- Material cracking: Constant flexing and pressure create stress cracks and eventual leaks, especially in lower-quality rubber hoses. Check for tiny cracks that release droplets during the fill cycle.
- Seal/fitting failure: The constant tugging on hose connections can erode threads and seals over time. This leads to water seeping out at the tap or inlet valve connections when pressurized. Tighten fittings and clamps or replace leaky hoses.
- Kinking: Getting pinned under or behind the washing machine can sharply kink inlet hoses and restrict the water flow rate. Straighten any kinks and replace misshapen hoses.
3. Test Water Pressure at Tap
Another common reason a washer won’t fill is low water pressure to the unit. Insufficient water pressure prevents the proper amount of water from entering the drum in the allotted fill time.
Use a pressure gauge to check the incoming water pressure from the supply lines. Below are the steps:
A water pressure gauge attached to the supply line measures incoming pressure
- Attach pressure gauge to supply line with an appropriate adapter
- Turn the hot or cold faucet on full and record the pressure reading
- 30-80 PSI is the normal range for residential water pressure. Below 30 PSI may cause fill problems.
- If pressure reads low, check for crimps in supply lines reducing flow.
- Inspect the water meter and main home shut-off valve as well.
- Increase pressure if possible or call your utility company if it’s a whole-house water supply issue.
Low pressure can slow the filling process to the point that the washer times out and faults. Fixing the underlying pressure issue is key to getting wash cycles functioning normally.
Water Pressure 101
Understanding the basics of water pressure can help troubleshoot washer fill problems:
- Measured in PSI – Pounds per Square Inch indicates the water supply line pressure into the household. Pressure pushes water through pipes and into appliances like washers.
- 30-80 PSI is typical – Pressure between 30-80 PSI is considered within the normal range for residential water supply. Below 30 PSI can cause weak flow issues.
- Water supply and meter impact pressure – Crimps in supply lines, partially closed valves, maxed-out water meters, and problems with a municipal water supply can all lower pressure.
- An electric pump can be added – If the water pressure is below 30 PSI, adding a booster pump to your supply lines can improve pressure and flow to washers and other appliances.
Testing water pressure at the supply lines helps determine if the insufficient flow is delaying the filling process and causing washer faults.
4. Clean Clogged Water Inlet Valve Screens
Many washers have small inlet valve filters that trap mineral deposits and debris from the water over time. If clogged, these built-in screens will block water flow even when supply valves are on fully.
Inlet screens are visible when you remove inlet hoses
Refer to your model’s service manual for detailed steps to clean inlet screens:
- Unplug the washer and turn off the water supply valves
- Disconnect hot and cold water inlet hoses from the back of the washer
- Check inlet ports and remove any debris, limescale, or sediment buildup
- Scrub clean with an old toothbrush and rinse debris
- Use a pipe cleaner or tweezers to clear stubborn clogs if needed
- Reconnect water inlet hoses, ensure tight seal
- Turn on supply valves and check for leaks during the test cycle
The inlet screens play a crucial role in filtering out tiny particulates. But over years of operation, they eventually get fouled and require cleaning or replacement to maintain proper water flow.
Sediment and Lime Buildup
Hard water is primarily responsible for the gradual clogging of inlet valve screens. Dissolved minerals like calcium and magnesium accumulate over time. The debris mixes with soap scum and other deposits inside hoses and valves, eventually severely restricting water flow if not cleaned.
Preventative measures like installing whole house water softeners and regularly cleaning inlet screens help. But most washers eventually need valve and hose replacements due to sediment and limescale buildup after 5-10 years of operation.
5. Replace Malfunctioning Water Inlet Valves
If the washer has power, open supply valves, no leaks, adequate water pressure, and clean inlet screens, yet still does not fill, chances are the electrical control inlet valves themselves are defective. These internal solenoid valves activate to allow water to flow into the tub. If unable to open fully and let water in, replace them.
Replacing faulty inlet valves commonly fixes no-fill issues
Follow the best practices below when replacing inlet valves:
- Consult the service manual for your model’s make and location
- Turn off electrical power and water supply
- Release water pressure by initiating a drain cycle
- Label wires and disconnect the inlet valve electrical harness
- Unscrew the bracket holding valve to the tub assembly
- Remove the old valve and clean out the inlet port thoroughly
- Install a new compatible OEM inlet valve kit
- Ensure valve filter screens are clean
- Restore wire harness and water lines, check for leaks
Inlet valve replacement is intermediate-level DIY work. Taking proper precautions and following detailed steps can get even novice repairers back to washing. Seek professional assistance if needed.
1. Cause of No Fill Issues
Failure of the water inlet valve solenoids is the #1 cause of washing machines not filling with water. These small electrically-controlled valves actuate to allow water to enter the tub.
Over years of operation, voltage spikes, sediment buildup, wear and tear, and component fatigue cause the valves to fail intermittently or fully. Replacement kits are widely available for DIYers. Make sure to get valves rated for washing machines for proper water pressure ratings and flow capacity.
6. Reset the Washer and Run the Diagnostic Cycle
Try rebooting your washing machine to reset any stuck relays, clear error codes, and recalibrate components preventing water fill.
Follow the steps below to reset your unit:
- Unplug the washer from the electrical outlet
- Leave unplugged for the 1-minute minimum to discharge capacitors
- Plug the unit back into the grounded outlet
- Attempt to run a diagnostic test mode cycle
Many washers have built-in self-diagnostic modes. Check your model’s service manual for how to enter this mode by pressing certain buttons. Diagnostic tests can activate specific components like pumps and valves independently to isolate problems.
If the washer begins filling normally in diagnostic mode but not regular cycles, the issue may have just been a system freeze-up that a reset resolved.
Resetting power can clear error codes related to no-fill issues
Microcontrollers and Electrical Gremlins
The electrical boards and microprocessors in modern washers can sometimes get “confused” and fault unnecessarily. Resetting power essentially reboots the washer’s computer and can get it functioning again without any component replacements needed.
Try the reset if you encounter any of these general problems:
- Random error codes
- Electrical control issues
- Software glitches
- Faulty sensors
- Buttons not responding
Power resets often resolve temporary electrical gremlins.
7. Inspect Door/Lid Lock
For top loaders and some front load units, a damaged lid lock can disrupt the filling process. These locks activate once a cycle starts to prevent dangerous opening while water flows in.
Follow these steps to test a washer’s lid lock:
- Initiate a test cycle with the lid closed and listen for a click
- When the cycle starts, try lifting the lid. It should resist firmly if the lock engages
- Stop the cycle, manually unlock the lid, and inspect the lock assembly for damage
- Ensure no broken parts or obvious issues
- Test lock manually by closing the lid and ensuring it clicks and latches
- Replace the lock assembly if it fails to latch or has physical damage
Lid locks commonly fail after years of use. The spring mechanism wears out or gets obstructed. Replace a defective lid lock so the washer knows when it is safe to proceed with the filling cycle.
Inspect the lid lock for damage and ensure it clicks closed
Lid Lock Critical Function
This small part plays a huge safety role. The washer control board initiates lid lock actuation at the very start of the cycle. This pulls a mechanical latch that keeps the lid firmly shut. This prevents opening the top while water circulates or the drum spins at high speed.
Once the cycle finishes, the lock disengages to allow safe opening and clothes removal. A failed lid lock causes all sorts of cycle disruptions and faults.
8. Test the Water Level Pressure Switch with a Multimeter
The water level pressure switch controls electrical power to the inlet valves based on the internal tub water level. If this pressure sensor malfunctions, it won’t send the signal to open the valves and let water in.
Use these steps to test the pressure switch:
- Unplug the washer
- Locate the switch at the bottom of the outer tub and access the wiring harness
- Set multimeter to Ohms setting
- With the switch disconnected from the harness, check resistance readings as you depress the switch manually
- Resistance should change from infinite to under 100 Ohms when pressed
- Compare readings to your model’s service manual specifications
- If readings don’t change or are wildly inaccurate, replace the switch
This crucial pressure sends key data to the control board on how much water has filled. If the switch fails, the washer loses water-level visibility and can’t fill properly.
Use a multimeter to test the water level switch
Water Level Switch Operation
This sensor sits at the bottom of the outer tub and gets compressed by water weight as the tub fills. A pressure disc compresses an internal spring switch when enough water compresses it.
As the disc moves with water pressure, the electrical contacts open and close to provide different resistance values to the control board. This data tells the board when more water is needed.
9. Replace Defective Water Level Switch
If testing confirms the pressure switch is not functioning properly and providing inaccurate readings, replacement is required. Installing a new water level switch will again allow the washer to properly sense fill levels and fill with the correct amount of water.
Follow best practices when replacing pressure switches:
- Consult your make and model repair manual
- Turn off the electrical power to the washer
- Disconnect switch wire harness leads
- Unthread switch housing from the outer tub
- Remove the pressure switch tube and fitting
- Install new pressure switch by reversing steps
- Ensure the wire harness is securely reconnected
After the repair, run a test cycle to validate the replacement switch now allows proper water fill.
Carefully replace the water level switch using your model’s service guide
Common Fill System Fault Codes
When a washer fails to fill, the control board will often flash an error code to indicate the fault. Here are 5 common failure codes related to filling issues:
Error codes
- F05 – Drain pump timeout. Indicates a problem with the drain system that prevents proper fills
- F06 – Water heating fault. This could mean no hot water reaching the inlet valve.
- F07 – Motor drive error. Problems with the motor or control board not allowing proper fill valve activation.
- F08 – Pressure switch trip error. The issue with water level sensor readings.
- F09 – Water inlet timeout
Conclusion
Understanding why your washer stops mid-cycle, won’t drain, or displays error codes can help resolve the issue efficiently. Most problems can be addressed with simple troubleshooting, while others may require professional repair. Whether it’s a clogged filter or a faulty inlet valve, proactive care keeps your washer running smoothly for years to come.
Call to Action
If your washer isn’t filling, draining, or completing cycles, don’t panic. Use this guide to troubleshoot and fix the issue step-by-step. Start by checking water supply valves, inspecting hoses, and cleaning filters. If problems persist, consult your washer’s manual or call a professional. A quick diagnosis can save time and money—get your washer back to peak performance today!
FAQs
- Why does my washer stop mid-cycle?
Common reasons include a faulty lid lock, an imbalanced load, or a control board issue. Check for error codes to identify the exact cause. - How do I reset my washer after an error code?
Unplug the washer for at least 1 minute, then plug it back in. Refer to your washer’s manual for specific reset instructions. - How do I drain a washer that won’t spin?
Manually select the drain cycle, check for clogs in the pump filter, and ensure the drain hose is positioned correctly. - Should I repair or replace my washer?
If the cost of repairs exceeds 50% of the washer’s value or it’s over 10 years old, replacement is often the better choice. - What are common fill error codes?
Codes like F05 (drain pump issue) or F08 (pressure switch problem) point to specific faults in the fill system. - How do I unclog the drain pump filter?
Turn off the washer and unplug it. Locate the filter near the front panel, remove it, and clean out any debris before replacing it.
